|
|
|

I'm not set up to scan my chips under UV light.I see a difference in the 2 sides. Maybe my portable black light isn't powerful enough (I think it need a fresh set of batteries.)
I'll have to get back to you on differences or not.
Any others have opinions?
Don't scan - use a digital camera in a darkened room. Of course that means having it on a tripod or mounted... 
Hand held can be a problem because of the length of time for the exposure. So here are some tips for getting started.
Mount the camera so it's straight overhead or aimed at no angle, if from the side. Parallel to the chip surface is important. Set the camera to self timer 2 second or 10 seconds, doesn't matter, but the important part is that after you push the shutter button, the camera is untouched so it's not going to blur the image. If the camera has manual, you'll be able to adjust the exposure for what you need to expose with the hand held light.
Best UV in my experience is a TUBE, not incandescent bulb. The hand held are nice but not as bright as some others like a small 10W fluorescent 13 inch AC and not expensive. Sometimes you can find them at resale shops. Which I'm a pretty avid fan. 
LEDs are being made better and seem to have a higher output. I haven't had the chance to compare for cost and illumination. The LED versions I have owned are not as good, but technology changes and they are supposed to be up to 3 times brighter than tubes. And I mean the UV part of the lighting.
Greg used a Digital Blue Microscope, which last drivers are for XP. It won't work with a newer OS. But just as an example, the microscope, with a hand held UV light. Pretty easy?
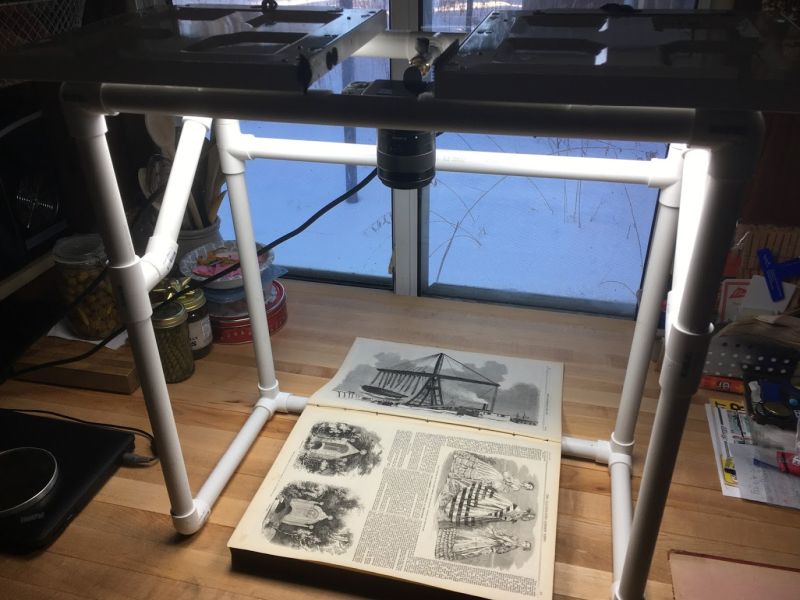
Then there's overkill and I have projects like these, for overhead shots. This one was for coins, so LED lights. Way too complicated and involved, but I have fun.

This for larger items, but I could use it for chips? Winter PVC project.


|
|